Brand
用手机扫我
在手机上打开
在GNU/Linux上配置JDK的环境变量:
export JAVA_HOME=~/bin/jdk1.8.0_45
export PATH=$JAVA_HOME/bin:$PATH
export CLASSPATH=.:$JAVA_HOME/lib/dt.jar:$JAVA_HOME/lib/tools.jar
XWiki是使用JavaEE技术实现的, 所以,他允许使用您最熟悉的Servlet容器。我们一般都是使用Tomcat。
1、下载
curl -LO http://apache.fayea.com/tomcat/tomcat-8/v8.5.9/bin/apache-tomcat-8.5.9.tar.gz2、解压
tar zvxf apache-tomcat-8.5.9.tar.gz -C ~/bin3、编辑conf/server.xml文件,修改8080端口描述设置编码为UTF8,并允许gzip压缩:
<Connector port="8080" protocol="HTTP/1.1"
    connectionTimeout="20000"
    redirectPort="8443"
    URIEncoding="UTF-8"
    compression="on"
    compressionMinSize="2048"
    compressableMimeType="text/html,text/xml,text/css,text/javascript,application/x-javascript" />
下载地址:http://www.xwiki.org/xwiki/bin/view/Download
XWiki提供了体验版本和生产环境的版本。 体验版本只是让您在正式使用前体验一下,使用的是嵌入式数据库。 如果您真实的使用,请使用生产环境的版本。生产环境的提供了war包和deb包两种。
下载war的包:
curl -LO http://download.forge.ow2.org/xwiki/xwiki-enterprise-web-8.4.4.warunzip xwiki-enterprise-web-8.4.4.war -d ~/bin/apache-tomcat-8.5.9/webapps/xwiki进入解压后的XWiki的根目录,如下:
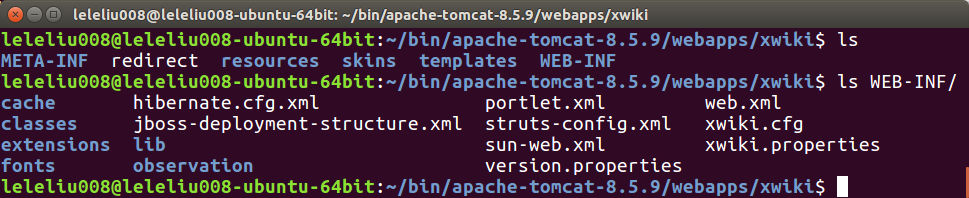
如果您熟悉JavaEE开发的话,应该明白WEB-INF这个目录的重要性, 一个Web App的所有配置和依赖的jar都在这里。
1、安装MySQL
不要使用MyISAM存储引擎,因为MyISAM不支持事务处理,推荐使用InnoDB存储引擎。
2、创建xwiki数据库,并赋予相应的权限:
create database xwiki default character set utf8 collate utf8_bin;
grant all privileges on xwiki.* to xwiki identified by 'xwiki';
flush privileges;
3、下载MySQL JDBC Driver:
curl -LO http://repo1.maven.org/maven2/mysql/mysql-connector-java/5.1.34/mysql-connector-java-5.1.34.jar4、把驱动放到WEB-INF/lib目录下:
mv mysql-connector-java-5.1.34.jar ~/bin/apache-tomcat-8.5.9/webapps/xwiki/WEB-INF/lib/5、编辑WEB-INF/hibernate.cfg.xml,注释掉默认的数据库配置,打开MySQL的配置:
<!-- Configuration for the default database.
    Comment out this section and uncomment other sections below if you want to use another database.
    Note that the database tables will be created automatically if they don't already exist.

    If you want the main wiki database to be different than "xwiki" (or the default schema for schema based engines)
    you will also have to set the property xwiki.db in xwiki.cfg file
-->

<!--
<property name="connection.url">jdbc:hsqldb:file:${environment.permanentDirectory}/database/xwiki_db;shutdown=true</property>
<property name="connection.username">sa</property>
<property name="connection.password"></property>
<property name="connection.driver_class">org.hsqldb.jdbcDriver</property>
<property name="dialect">org.hibernate.dialect.HSQLDialect</property>

<property name="hibernate.connection.charSet">UTF-8</property>
<property name="hibernate.connection.useUnicode">true</property>
<property name="hibernate.connection.characterEncoding">utf8</property>

<mapping resource="xwiki.hbm.xml"/>
<mapping resource="feeds.hbm.xml"/>
<mapping resource="activitystream.hbm.xml"/>
<mapping resource="instance.hbm.xml"/>
<mapping resource="mailsender.hbm.xml"/>
-->

<!-- MySQL configuration.
    Uncomment if you want to use MySQL and comment out other database configurations.
    Notes:
        - if you want the main wiki database to be different than "xwiki"
        you will also have to set the property xwiki.db in xwiki.cfg file
-->

<property name="connection.url">jdbc:mysql://localhost/xwiki?useSSL=false</property>
<property name="connection.username">xwiki</property>
<property name="connection.password">xwiki</property>
<property name="connection.driver_class">com.mysql.jdbc.Driver</property>
<property name="dialect">org.hibernate.dialect.MySQL5InnoDBDialect</property>
<property name="dbcp.poolPreparedStatements">true</property>
<property name="dbcp.maxOpenPreparedStatements">20</property>
<mapping resource="xwiki.hbm.xml"/>
<mapping resource="feeds.hbm.xml"/>
<mapping resource="activitystream.hbm.xml"/>
<mapping resource="instance.hbm.xml"/>
<mapping resource="mailsender.hbm.xml"/>
安装libreoffice:
yum install libreoffice libreoffice-headless编辑WEB-INF/xwiki.properties:
openoffice.autoStart=true
openoffice.homePath=/usr/lib64/libreoffice/~/bin/apache-tomcat-8.5.9/bin/startup.sh打开浏览器:
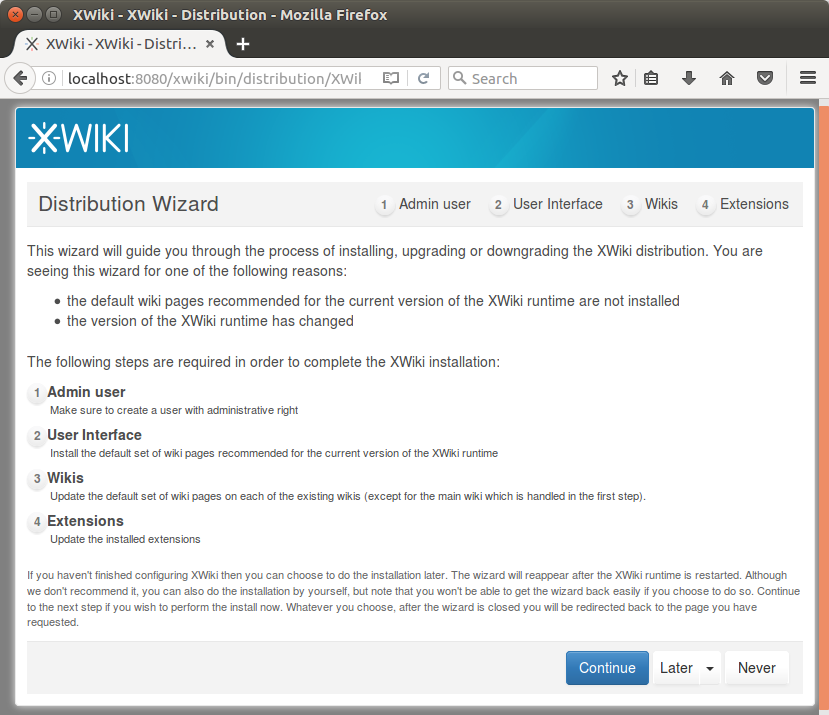
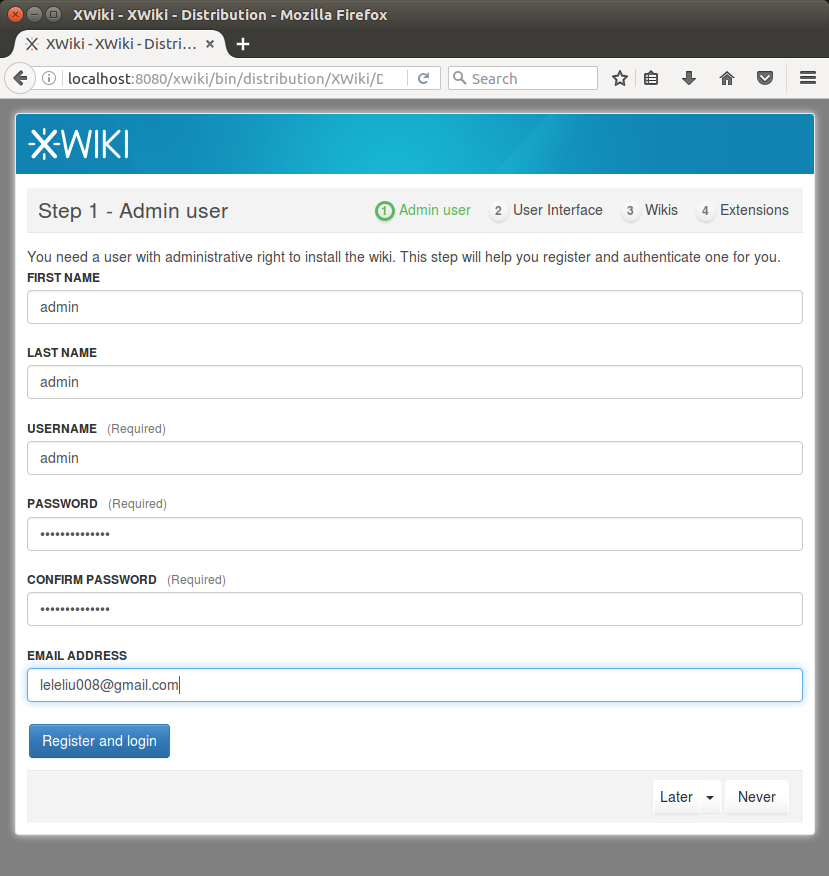
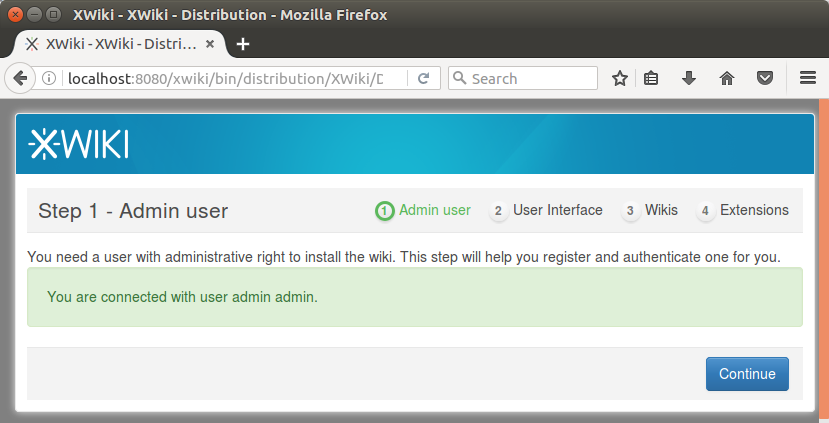
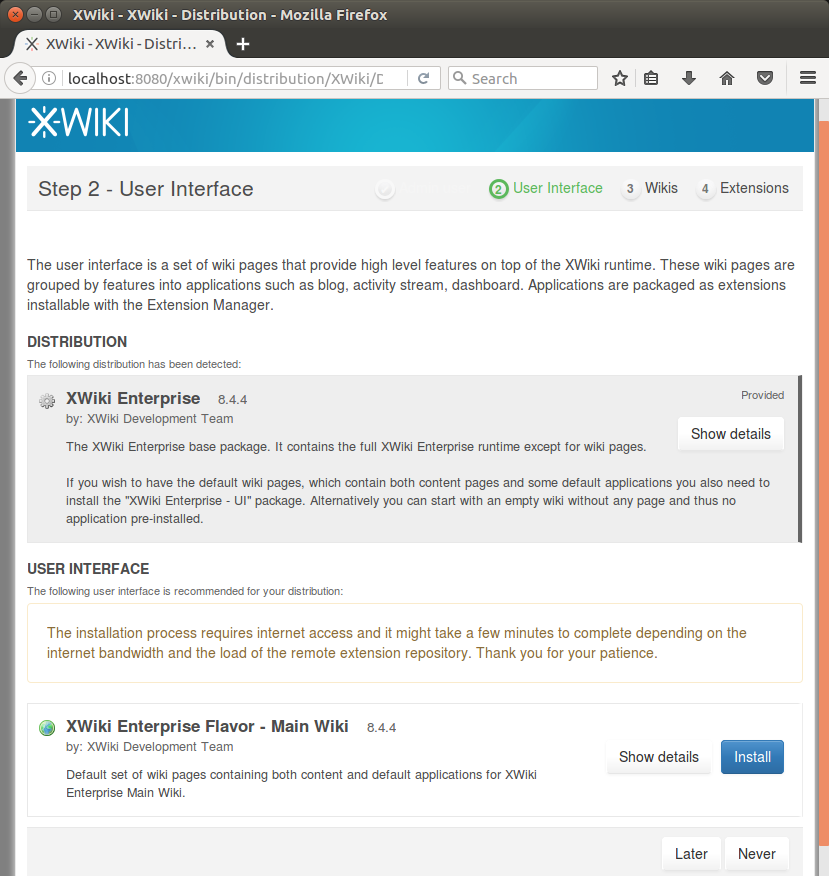
firefox http://localhost:8080/xwiki界面如下:
下面的过程参考:http://platform.xwiki.org/xwiki/bin/view/Features/DistributionWizard
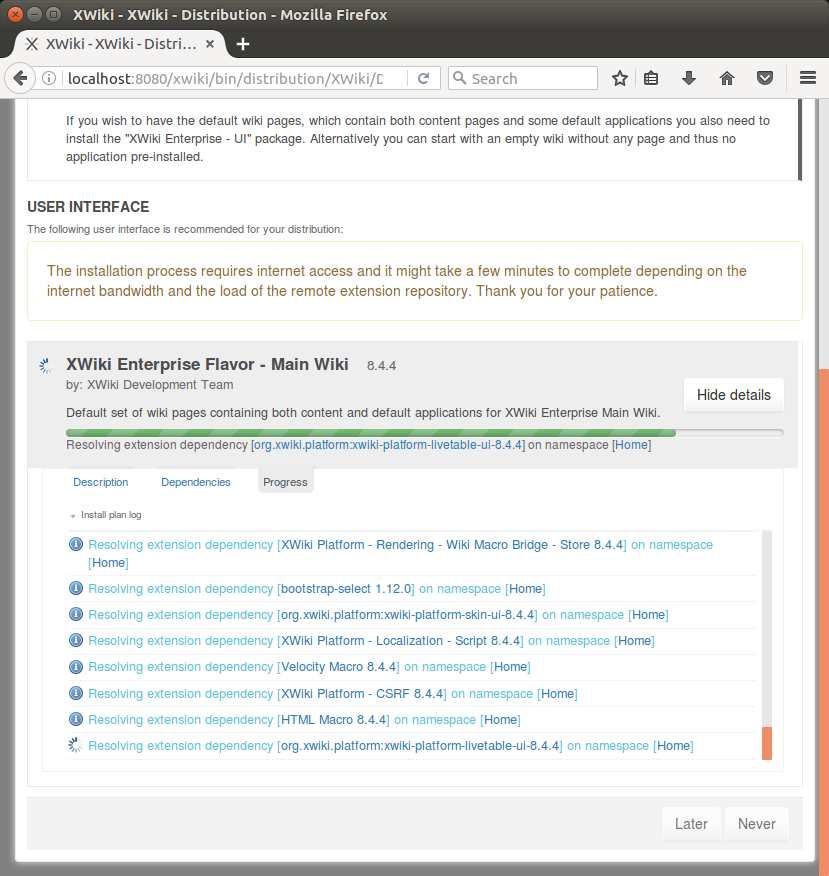
从这时候开始,最好开启VPN,因为后面的配置过程中会从Maven仓库下载大量的jar包, 如果不开启VPN,下载失败的概率很大。


上面这些所有步骤,我已经写成了一个shell脚本,只要执行下面的命令即可:
curl https://raw.githubusercontent.com/leleliu008/auto/master/xwiki/setup-on-gnu-linux.sh | bash