Brand
用手机扫我
在手机上打开
1、打开Xcode。
2、通过菜单File -> New -> Project...打开如下界面:
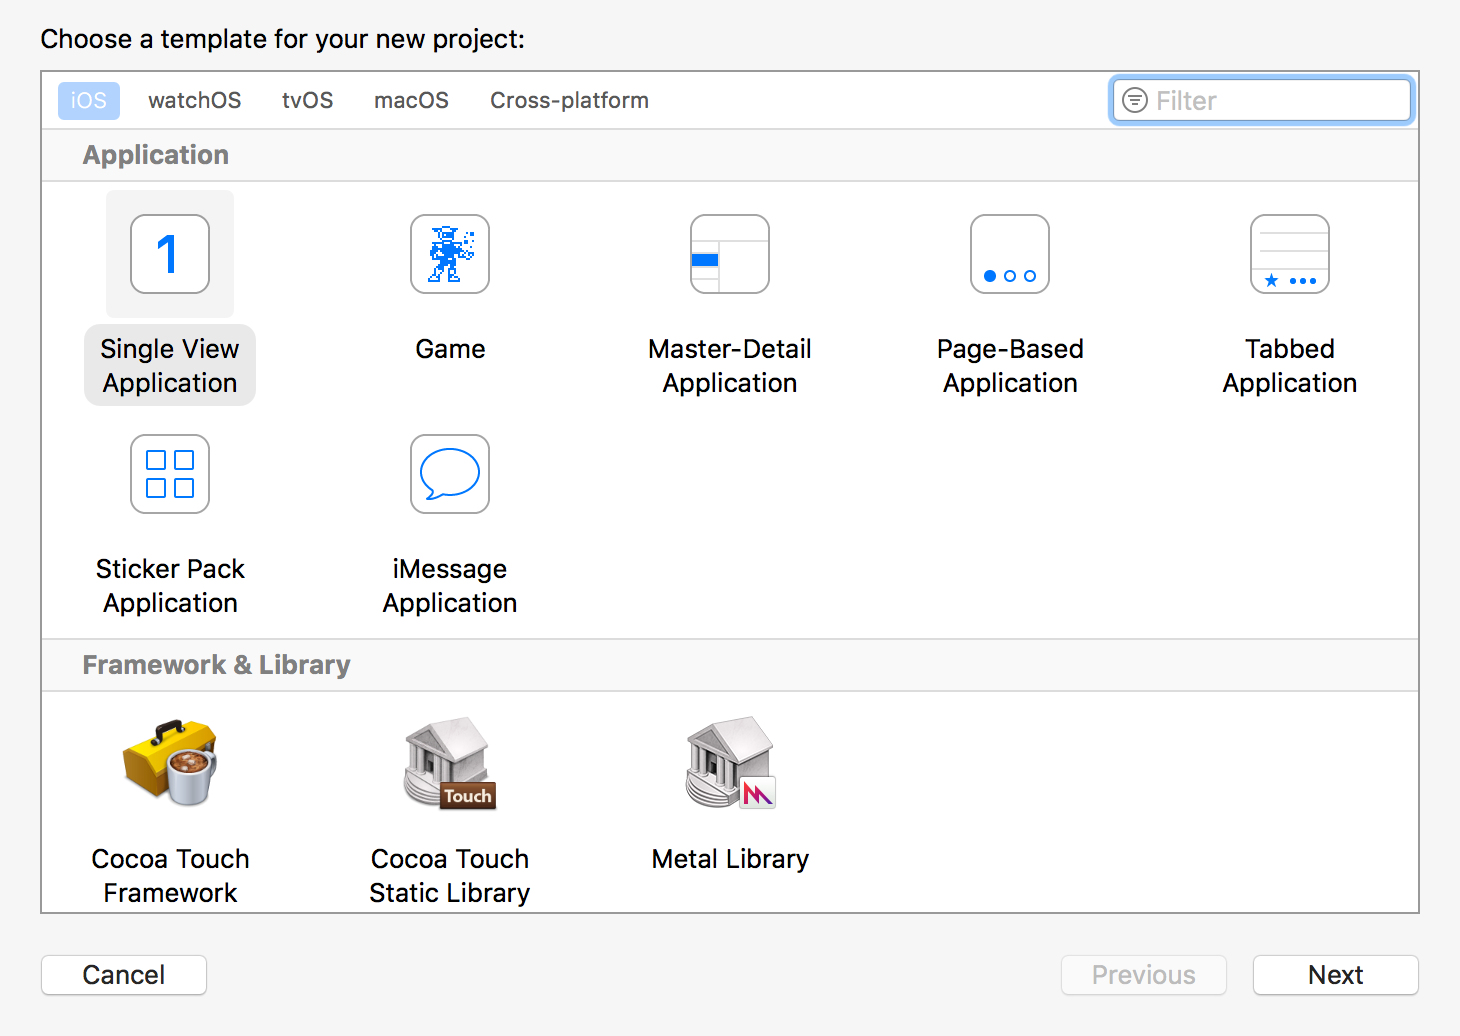
3、选择"iOS -> Application -> Single View Application",出现如下界面:
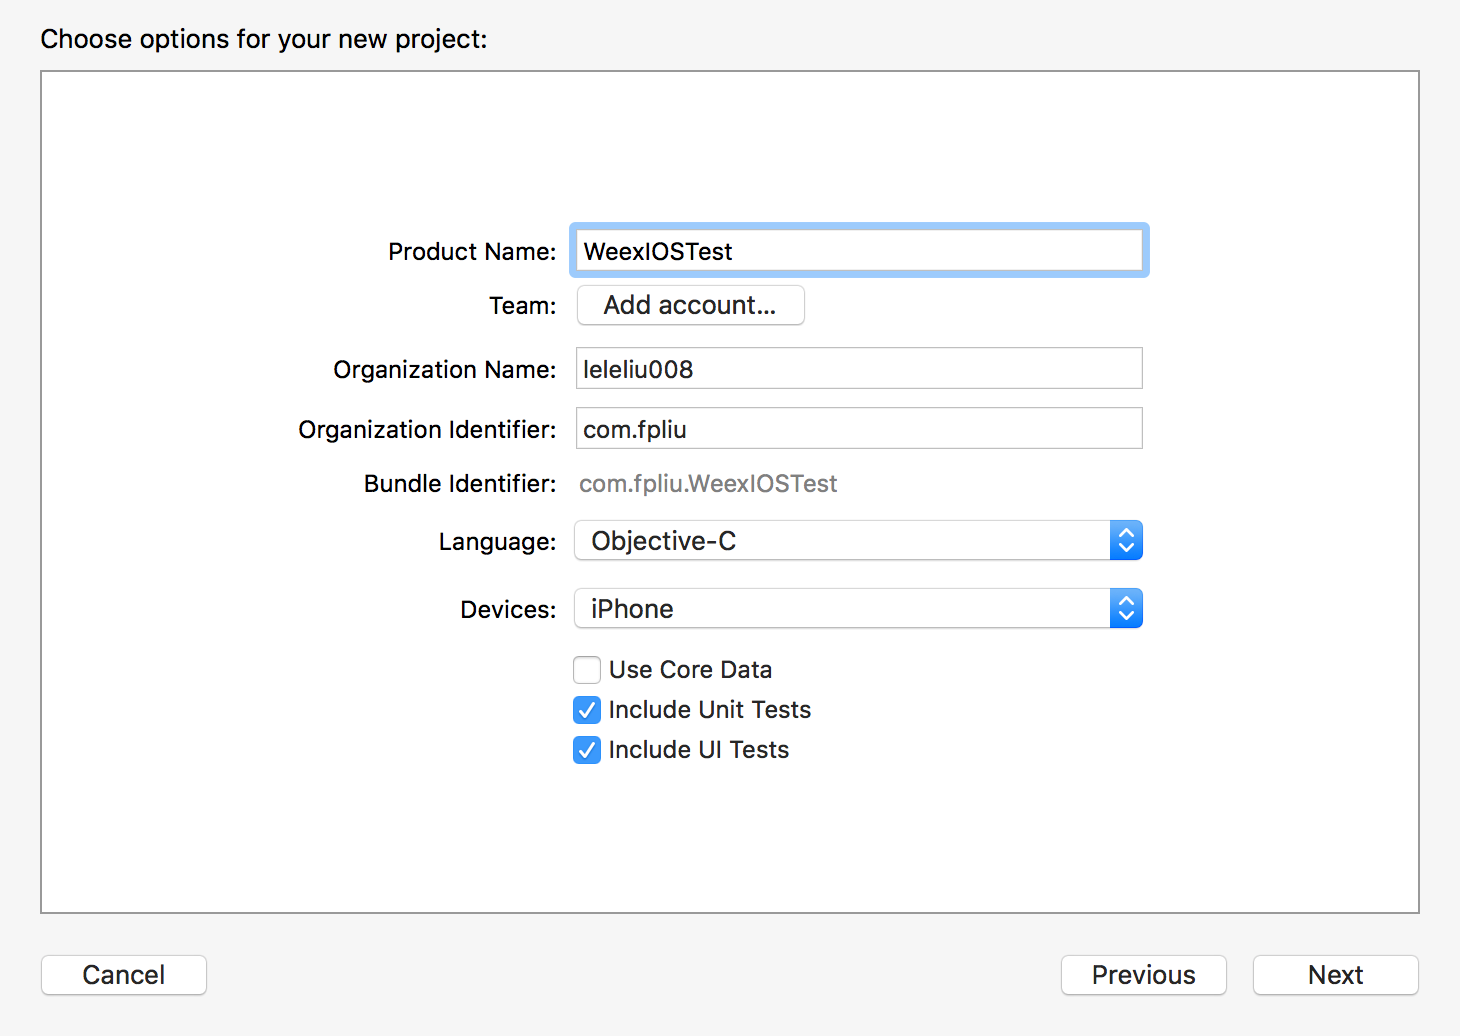
4、输入相关信息,点击"Next"按钮出现如下界面:
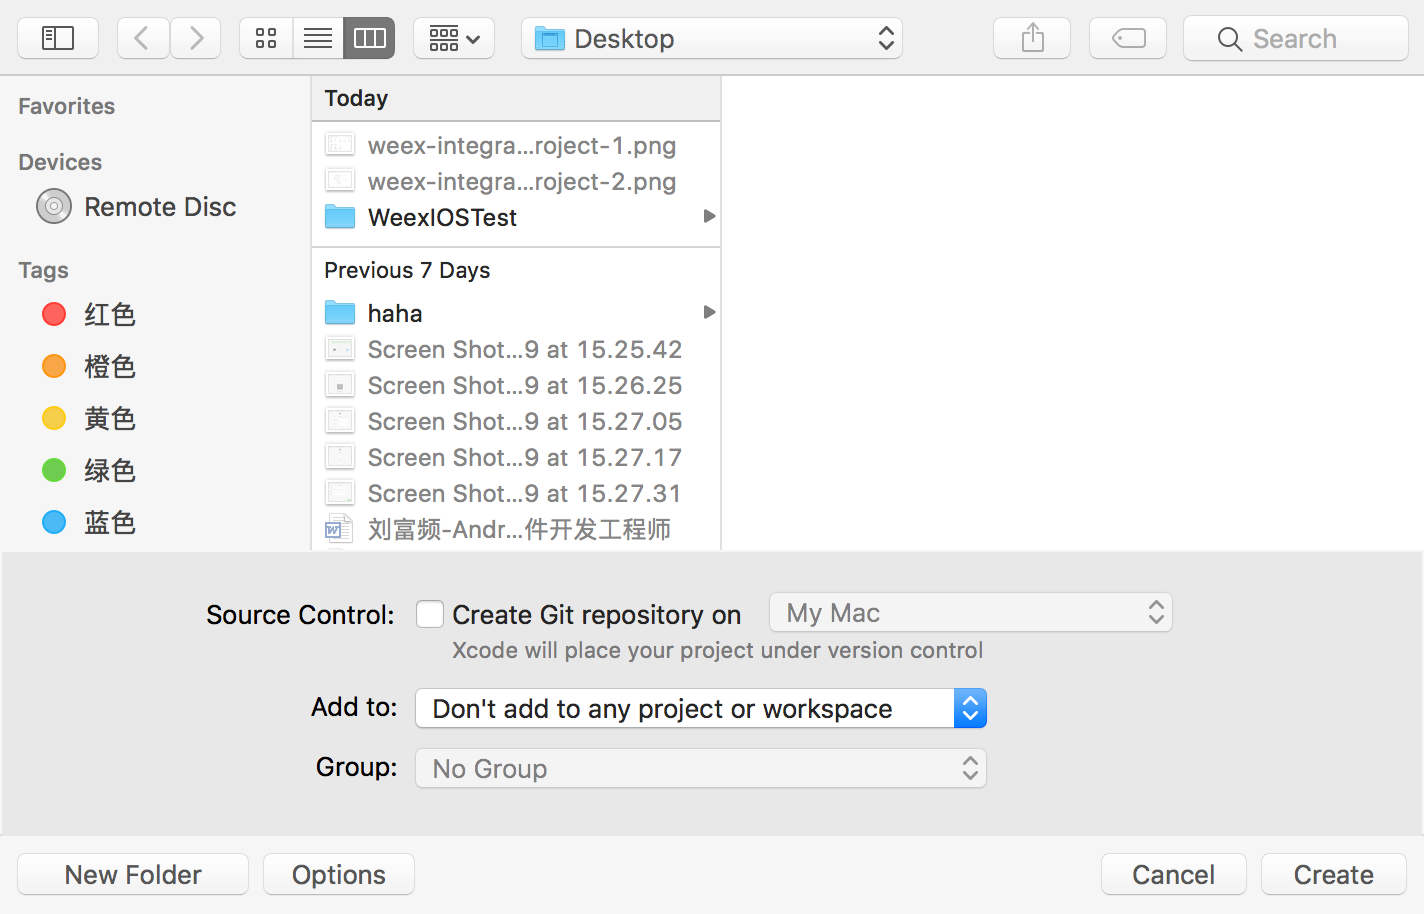
5、点击"Create"按钮就创建好了。
1、进入刚刚创建的iOS Project目录下:
cd ~/Desktop/WeexIOSTest2、生成Podfile文件:
pod init生成的Podfile文件的内容入下:
# Uncomment the next line to define a global platform for your project
# platform :ios, '9.0'

target 'WeexIOSTest' do
  # Uncomment the next line if you're using Swift or would like to use dynamic frameworks
  # use_frameworks!

  # Pods for WeexIOSTest

  target 'WeexIOSTestTests' do
    inherit! :search_paths
    # Pods for testing
  end

  target 'WeexIOSTestUITests' do
    inherit! :search_paths
    # Pods for testing
  end

end
1、我们将Podfile修改成如下:
source 'https://github.com/CocoaPods/Specs.git'

platform :ios, '9.0'

target 'WeexIOSTest' do
  use_frameworks!

  pod 'WeexSDK', '0.6.1'

  target 'WeexIOSTestTests' do
    inherit! :search_paths
    # Pods for testing
  end

  target 'WeexIOSTestUITests' do
    inherit! :search_paths
    # Pods for testing
  end

end
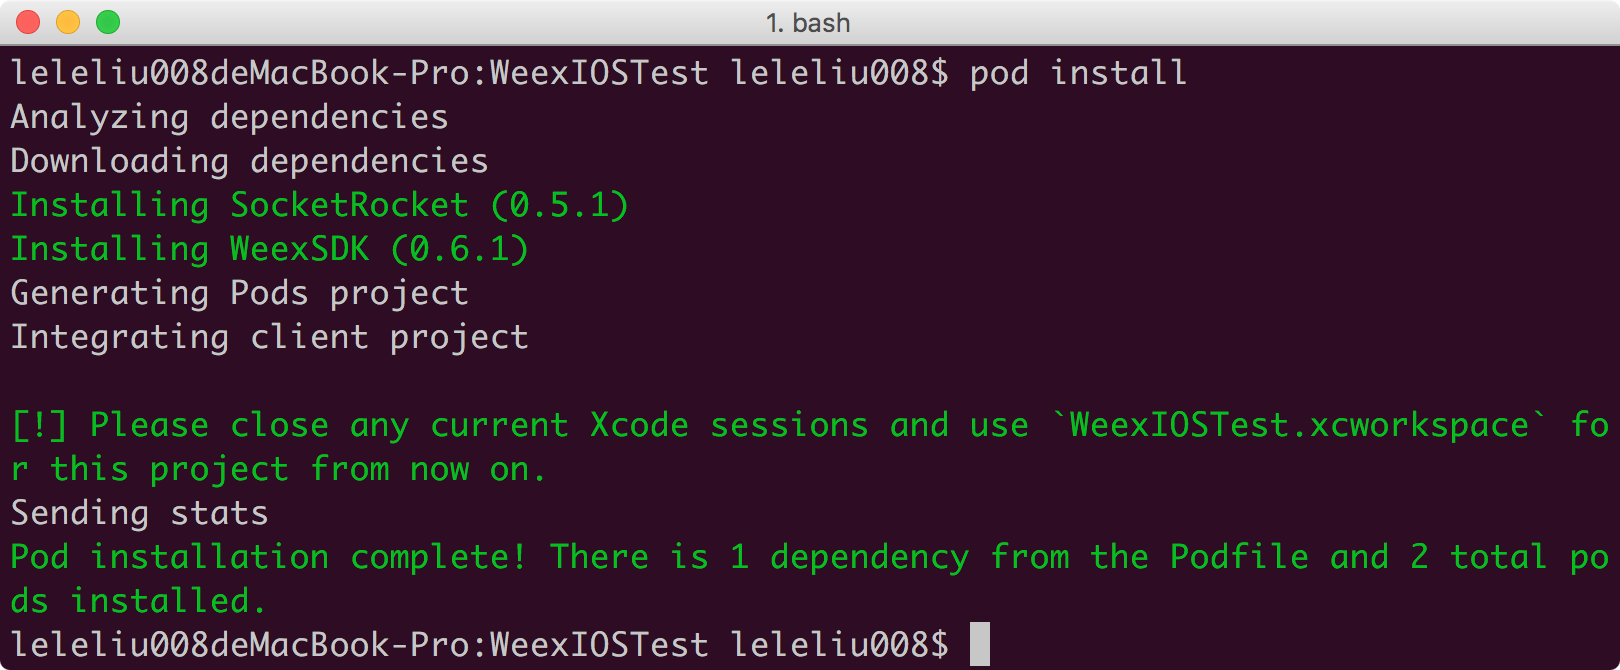
2、安装依赖:
pod install运行效果如下:
Weex源代码无法保证稳定性,但是却可以使用最新的功能。如果您是学习或者对于稳定性的要求不高,可以使用这种方式。
1、下载源码:
git clone https://github.com/alibaba/weex.git2、将ios/sdk目录直接复制到我们创建的iOS Project中:
cp -r ~/weex/ios/sdk ProjectName/weex_sdk3、我们将Podfile修改成如下:
platform :ios, '9.0'

target 'WeexIOSTest' do
  use_frameworks!

  pod 'WeexSDK', :path=>'./weex_sdk/'

  target 'WeexIOSTestTests' do
    inherit! :search_paths
    # Pods for testing
  end

  target 'WeexIOSTestUITests' do
    inherit! :search_paths
    # Pods for testing
  end

end
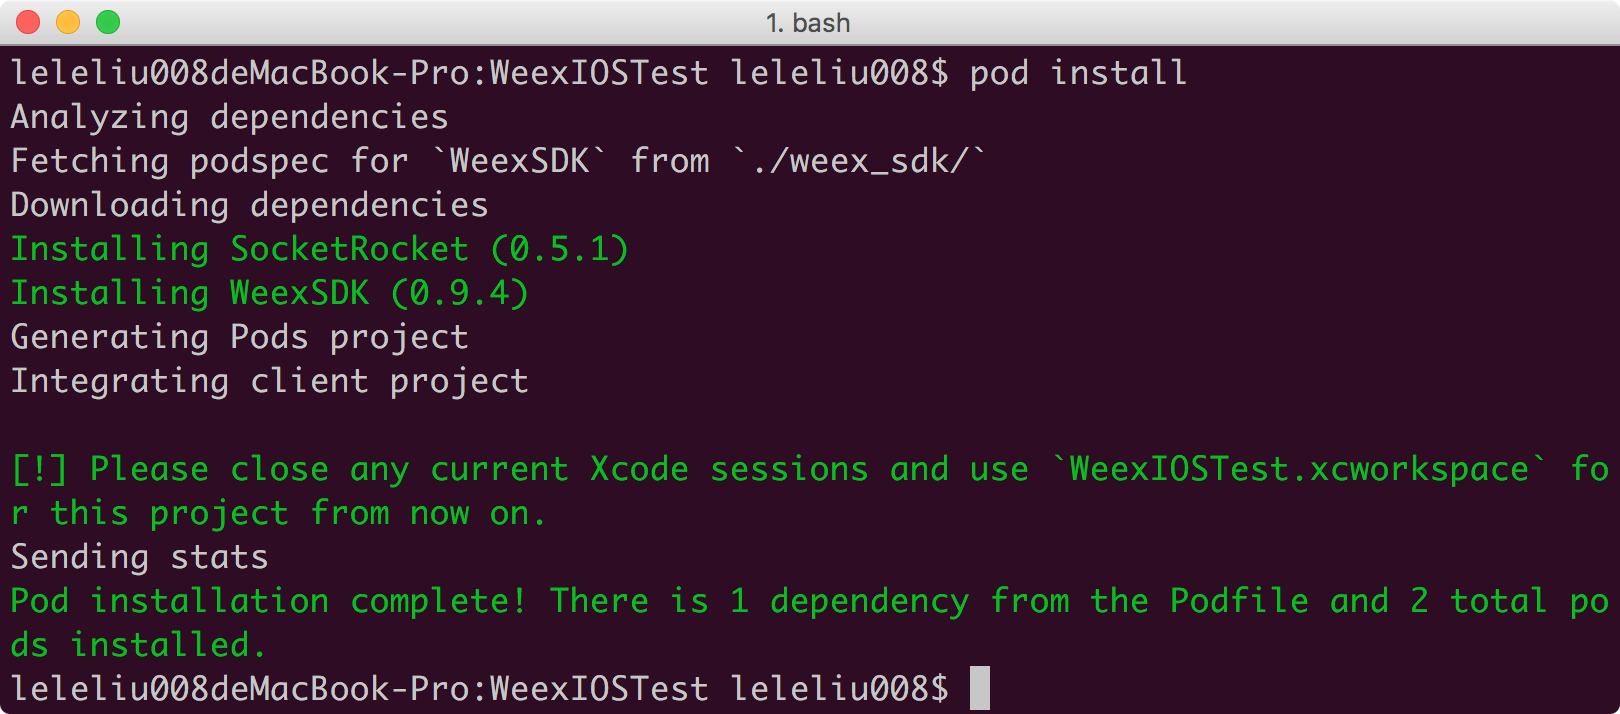
4、安装依赖:
pod install运行效果如下:
在AppDelegate.m的didFinishLaunchingWithOptions方法中做初始化操作,实现如下:
#import "AppDelegate.h"
#import <WeexSDK/WXAppConfiguration.h>
#import <WeexSDK/WXSDKEngine.h>
#import <WeexSDK/WXLog.h>

@interface AppDelegate ()

@end

@implementation AppDelegate


- (BOOL)application:(UIApplication *)application didFinishLaunchingWithOptions:(NSDictionary *)launchOptions {

    [WXAppConfiguration setAppGroup:@"AliApp"];
    [WXAppConfiguration setAppName:@"WeexDemo"];
    [WXAppConfiguration setAppVersion:@"1.0.0"];

    //init sdk enviroment
    [WXSDKEngine initSDKEnviroment];

    //set the log level
    [WXLog setLogLevel: WXLogLevelAll];

    return YES;
}

...

@end
注意:图片加载协议是您必须要实现并进行配置的,否则将无法展现图片。
在iOS中,我们通常使用SDWebImage这样的图片加载库。
1、在Podfile文件中加入如下依赖配置:
pod 'SDWebImage', '~>3.8'2、安装该依赖:
pod install3、创建一个类:WeexImageHandler
WeexImageHandler.h:
#import <Foundation/Foundation.h>
#import <WeexSDK/WeexSDK.h>

@interface WeexImageHandler : NSObject <WXImgLoaderProtocol>

@end
WeexImageHandler.m:
#import "WeexImageHandler.h"
#import <SDWebImage/SDWebImageManager.h>

@implementation WeexImageHandler

- (id<WXImageOperationProtocol>)downloadImageWithURL:(NSString *)url
                                          imageFrame:(CGRect)imageFrame
                                            userInfo:(NSDictionary *)options
                                           completed:(void(^)(UIImage *image,  NSError *error, BOOL finished))completedBlock {
    return (id<WXImageOperationProtocol>)[[SDWebImageManager sharedManager] downloadImageWithURL:[NSURL URLWithString:url] options:0 progress:^(NSInteger receivedSize, NSInteger expectedSize) {
    } completed:^(UIImage *image, NSError *error, SDImageCacheType cacheType, BOOL finished, NSURL *imageURL) {
        if (completedBlock) {
            completedBlock(image, error, finished);
        }
    }];
}

@end
3、在AppDelegate.m中进行配置:
[WXSDKEngine registerHandler:[WeexImageHandler new] withProtocol:@protocol(WXImgLoaderProtocol)];下面是具体实现:
#import "ViewController.h"
#import <WeexSDK/WXSDKInstance.h>

@interface ViewController ()
    @property (nonatomic, strong) WXSDKInstance *wxSDKInstance;
    @property (nonatomic, strong) UIView *weexView;
@end

@implementation ViewController

- (void)viewDidLoad {
    [super viewDidLoad];

    _wxSDKInstance = [[WXSDKInstance alloc] init];
    _wxSDKInstance.viewController = self;
    _wxSDKInstance.frame = self.view.frame;

    __weak typeof(self) weakSelf = self;
    _wxSDKInstance.onCreate = ^(UIView *view) {
        [weakSelf.weexView removeFromSuperview];
        [weakSelf.view addSubview:weakSelf.weexView];
    };

    _wxSDKInstance.onFailed = ^(NSError *error) {
        NSLog(@"onFailed");
    };

    _wxSDKInstance.renderFinish = ^ (UIView *view) {
        NSLog(@"renderFinish");
    };

    NSURL *url = [NSURL URLWithString:@"http://192.168.1.102:8081/weex_tmp/h5_render/weex-bootstrap.js"];

    [_wxSDKInstance renderWithURL:url options:@{@"bundleUrl":[url absoluteString]} data:nil];
}


- (void)didReceiveMemoryWarning {
    [super didReceiveMemoryWarning];
}

- (void)dealloc {
    [_wxSDKInstance destroyInstance];
}

@end
这里有两个方法可以使用,WXSDKInstance类的renderView方法加载本地的经过转换后的js, 而WXSDKInstance类的renderWithUrl方法用于加载部署在服务器端的经过转换后的js。 如果部署在服务器端,那么,我们就不用经常发布版本了。