Brand
用手机扫我
在手机上打开
| 是什么 ? | : | a utility for managing the use of the gcov utility and generating summarized code coverage results. |
| 开发语言 | : | Python |
| 官方主页 | : | https://gcovr.com |
| 源码仓库 | : | https://github.com/gcovr/gcovr |
| 操作系统 | 包管理器 | 安装命令 |
|---|---|---|
All | pip | pip install gcovr |
| Windows | Chocolatey | choco install -y gcovr |
| macOS | HomeBrew | brew install gcovr |
| GNU/Linux | HomeBrew | brew install gcovr |
| apt | sudo apt-get install -y gcovr | |
| CentOS | yum | sudo yum install -y gcovr |
| dnf | sudo dnf install -y gcovr | |
| openSUSE | zypper | sudo zypper install -y gcovr |
| Alpine Linux | apk | sudo apk add gcovr |
| pacman | sudo pacman -Syyu --noconfirm | |
| Gentoo Linux | Portage | sudo emerge gcovr |
step1、安装依赖
安装时 | CPython、pip、git |
| 运行时 | CPython |
step2、安装gcovr
pip install git+https://github.com/gcovr/gcovr说明:上面这个命令等同于如下的命令:
git clone https://github.com/gcovr/gcovr.git
cd gcovr
python setup.py install需求:编写一个四则运算中的加法运算的实现,使用CUnit进行单元测试,使用gcovr生成测试覆盖率统计报告。
设计:工程结构如下
add
└── src
    ├── include
    │   └── add.h
    ├── lib
    │   └── add.c
    └── test
└── add.c1、编写src/include/add.h
#ifndef ADD_H
#define ADD_H
    int add(int a, int b);
#endif2、编写src/lib/add.c
#include <add.h>

int add(int a, int b) {
    return a + b;
}3、编写src/test/add.c
#include <CUnit/CUnit.h>
#include <CUnit/Basic.h>
#include <add.h>

void test_add() {
    CU_ASSERT_EQUAL(add(0, 0), 0);
    CU_ASSERT_EQUAL(add(0, 1), 1);
    CU_ASSERT_EQUAL(add(1, 0), 1);
    CU_ASSERT_EQUAL(add(1, -1), 0);
}

// http://cunit.sourceforge.net/example.html
int main() {
    /* initialize the CUnit test registry */
    if (CUE_SUCCESS != CU_initialize_registry()) {
        return CU_get_error();
    }

    /* add a suite to the registry */
    CU_pSuite pSuite = CU_add_suite("Suite_1", NULL, NULL);
    if (NULL == pSuite) goto cleanup;

    /* add the tests to the suite */
    if (NULL == CU_add_test(pSuite, "test add()", test_add)) goto cleanup;

    CU_basic_set_mode(CU_BRM_VERBOSE);

    CU_basic_run_tests();

cleanup:
    CU_cleanup_registry();
    return CU_get_error();
}4、使用cc命令编译单元测试程序
cc -o add-test --coverage -Isrc/include -lcunit src/test/add.c src/lib/add.c5、运行单元测试程序
./add-test*.gcda文件。每一个.c源文件对应生成一个*.gcda文件。6、生成HTML格式的统计报告
mkdir coverage && gcovr -r . --html --html-details -o coverage/index.html7、查看coverage目录中的内容
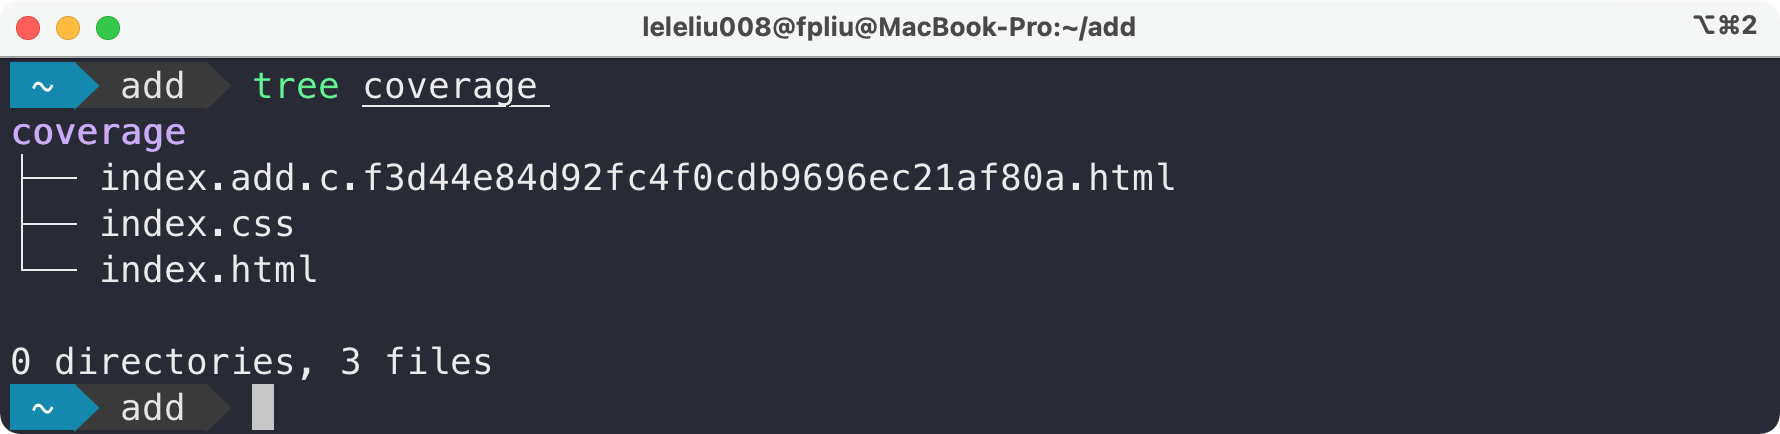
8、在Web浏览器中打开coverage/index.html
